
Software Installation and Setup
This page will walk you through installing the software that you will need for the course. We’ll do the following:
Install software we’ll be using for the class.
Create an account on GitHub, which is a cloud service we use to distribute and collect your work. That account, or one you already have, must be tied to your WUSTL email address.
“Accept” a repository for “Exercises.” You will use this repository throughout the first part of the semester.
Add the assignment to VS Code, which is the IDE we use for this course.
Use VS Code, which you installed in the first step, on the code in the repository, which you got in the third and fourth steps.
1. Installing Software
We will be using a language called Java to create and run code on our computers. Before you can execute Java code, you need to install two pieces of software:
The Java Development Kit (JDK). The JDK includes a whole bunch of Java tools that are used to assist in the creation and execution of Java programs. Visit the link above to download the JDK and install it on your computer.
Windows users will likely want the download labelled “x64 Installer.”
Mac users with the newer chipset (M1 or newer) should select “Arm 64 DMG Installer” and Mac users with older machines should select “x64 DMG Installer.”
Professional software developers use an Integrated Development Environment (IDE). As the name describes, it’s used to develop computer programs and it integrates several different useful features:
It includes a smart editor that helps you create and work with computer code.
It can work with other programs called compilers. Compilers translate the program you write into something the computer can run. The JDK that you installed included a compiler.
Other handy features, like support for debugging assistance.
We’ll be using VS Code, a popular IDE that supports programming in Java that can be used with many languages and will be used in many other computer science courses. Use can use this link to download and install VS Code on your computer.
You will also need to install some Java extensions for VS code. Visit this link to install the extensions.
2. Create a GitHub Account
We will be using software called Git for “version control”. Version control systems (VCS) are a way of life in the modern software-development industry. They track how team members have changed a project, and they are particularly useful for collaborative projects, where multiple developers work concurrently on the same body of code.
Windows users should use the above link to download and install Git.
Mac users will need to install Git a little differently. First, you will need to open the “Terminal” program (using spotlight). Once the terminal has opened, type in “git” (without the quotes) and press enter. This should prompt you to install the “XCode Command Line Tools.” Once these have finished installing, you can close the Terminal.
After installing Git, be sure to restart VSCode or the following steps may not work.
We use the site GitHub to distribute and collect course work. GitHub is a place that hosts git repositories. You need to create a (free) account. Please visit GitHub and sign up for an account. Please use your WUSTL email address, although you can add multiple e-mail addresses. If you already have an account, please be sure to add your WUSTL email. These directions describe how to add additional email addresses.
3. Accepting the exercises
For each major type of course work you will need to generate a repository on GitHub. You’ll do so by clicking on a link and “accepting” an assignment. Click HERE to accept the repository containing the first batch of course exercises *and follow along with the instructions below*.
Select the button to accept the exercises:
After accepting the exercises, a copy of the exercise materials, called a repository, will be made for you. Click on the link to view the repository:

Finally, click on Code and then click the “Copy to Clipboard” button to make a copy of the URI shown.

You’ve now created an exercises repository and have the URI. You’ll need to do steps 2-4 many times this semester.
4. Add the exercises to VS Code
Open or go to VS Code.
From the Welcome tab, select “Clone git repository…” (If this button is not there, please revisit the above instructions (in section 2) to install Git)
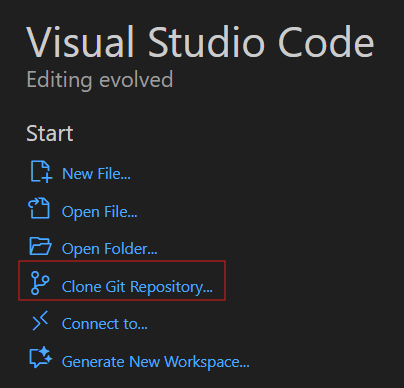
If you do not see the Welcome tab, go to Help -> Welcome.
Paste the git URI into the box and hit return:

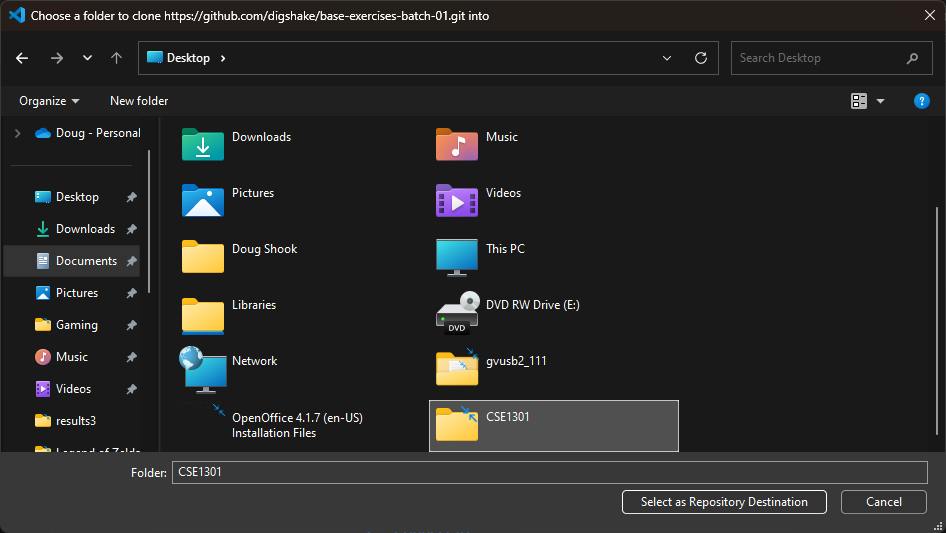
The following screen asks where you would like to store the files on your computer. It is highly recommended to create a new folder for all of your work in this class. The process for doing this differs between Windows and Mac, so please ask if you need help. Once you have created a folder, select it and click the “Select as Repository Destination” button, as shown:
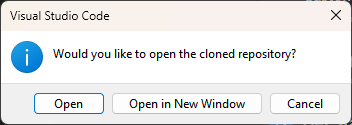
The next window asks if you want to open the project. If you wish to have multiple projects open at once, you can select “Open in new Window”, otherwise just select “Open.”
5. Using VS Code on the exercises
To verify that your installation worked correctly, use VS Code to complete the following steps and run a simple program:
Expand the
srcfolder by clicking the “>”.
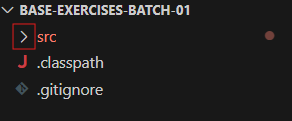
Expand the
module1folder.Expand the
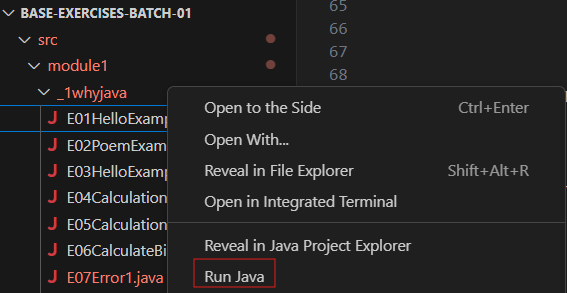
_1whyjavafolder and double click on theE01HelloExample.javafile:
Run the file by right-clicking on it, and selecting
Run Java:
Once the program has finished running you should see a simple welcome message in the terminal at the bottom of the window, this indicates that the installation was successful!
6. Cloning only needs to happen once per assignment!
You will need to complete the cloning process once per studio or assignment. After it has been cloned, you can revisit that assignment at any time by going to File -> Open Folder... in VS Code, and then navigating to the folder that contains the assignment you wish to work on (which is hopefully in the folder that you created specifically for this class!).