
Assignment 0: Robot
Objective
The assignment is intended to make sure that you’ve completed the setup materials necessary for the course, and get you some practice with writing code.
Assignment Setup
Before starting this assignment it is expected that you have completed the software setup for the course as well as Studio 0
To create your repository go here. Then follow the same accept/import process described in the setup instructions.
Using Java to Control a Robot
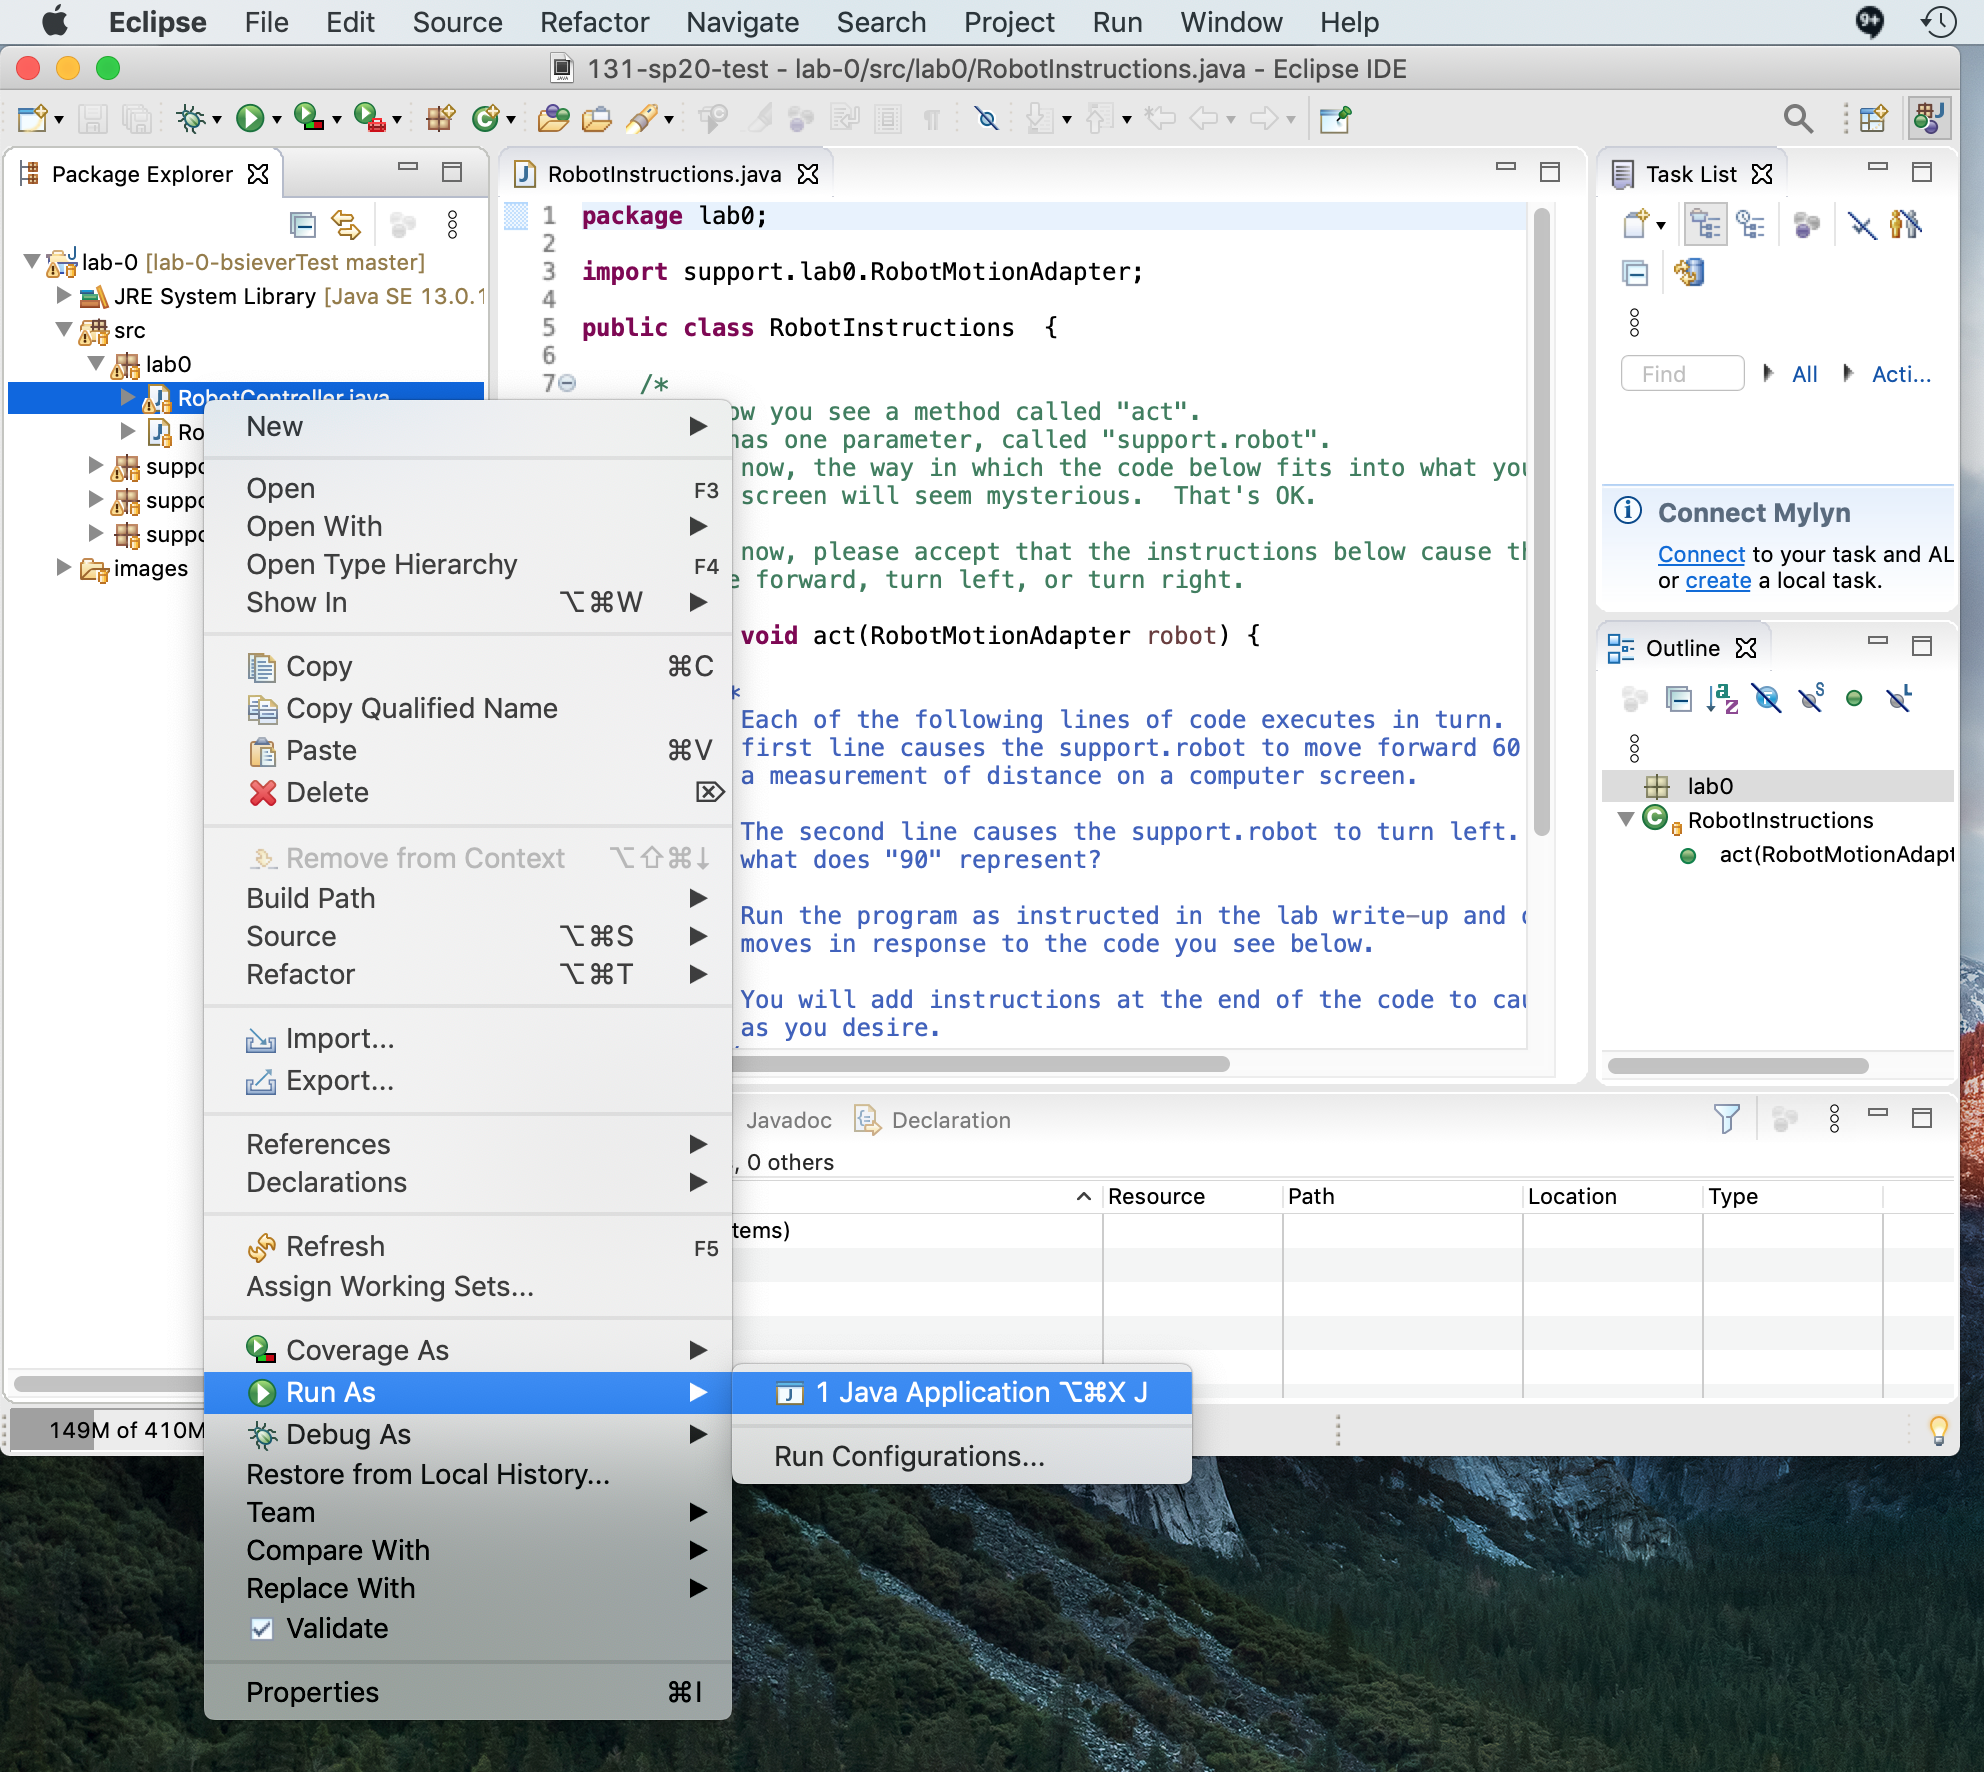
Your project should now be open in VS Code. You should the files and folders on the left side of the screen (if not, click the “Explorer” button in the top left corner).
Expand the
srcfolder.Expand the
assignment0folder and click on the RobotInstructions.java file. You should see the code open in a new tab.Run the other file, the
RobotController.java, by right-clicking on it, and selectingRun Java:
A new window should now open. Click on the
Gobutton and you’ll see a simulated robot draw on the screen. It’s merely following the instructions that are being given in theRobotInstructions.javathat you opened.Close the robot simulation window (not VS Code).
Review the contents of
RobotInstructions.java, which should be shown in VS Code. Make some changes:Change the
robot.forward(60);to`robot.forward(120);. What do you think the robot will do differently?Run the robot simulator again.
Did the robot do what you expected?
What if you removed the line that now says
robot.forward(120);and replaced it with two lines that each sayrobot.forward(60);? Before making any change be sure to close the simulator. Then make your changes and hit the Play button to see their impact.Try removing a semi-colon (
;). VS Code should add red indicators in several places indicating there are errors with the file. These are helpful cues that you should pay attention to in larger programs.Try running the program with errors. What other indicators do you see that there is a problem with the code?
Put the semi-colon back in and correct the errors.
Add a new, empty line after a
robot.forwardline. Typerobotthen.. Notice that when you hit the.a window appears with a list of options. VS Code is letting you know the choice available to you here. This is one benefit of using an IDE like VS Code.Experiment with changing / adding other commands.
Working With Code
Now that you understand how to use VS Code to modify and run the program, spend some time making the robot draw a picture of a flower or a tree (maybe a leaf?). Be creative!
2. Commit and push your work
Follow the instructions from studio 0 to commit and push your work.
After doing Commit and Push always check your work on GitHub. Go to the course page on GitHub, select the respository for the assignment, and then review the individual files.
3. Course Information
Review the course site on Canvas. Make sure you review:
Know where to go to find Office Hours, which will be posted by the second week of class.
Know how to browse the content and prepare for modules.